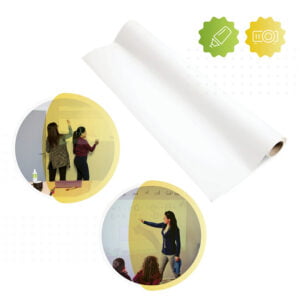
Benefits of Using Magnetic Projector Screen Whiteboard Wallpaper
Magnetic, Writable & Projection Surfaces
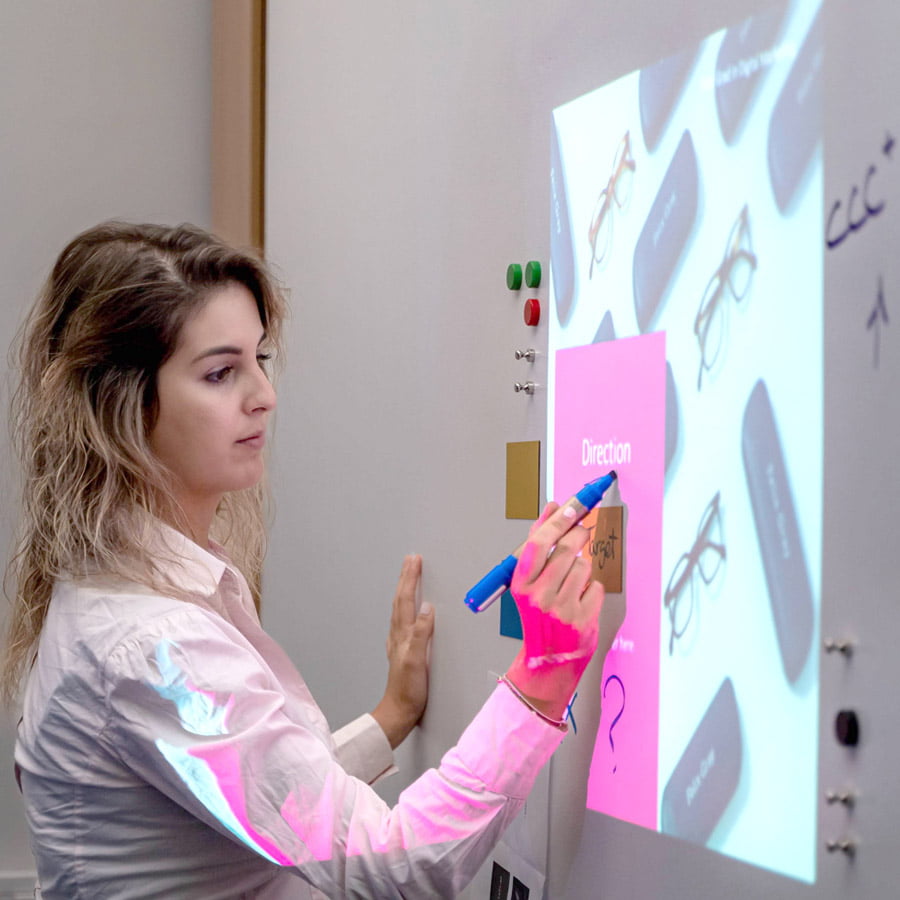
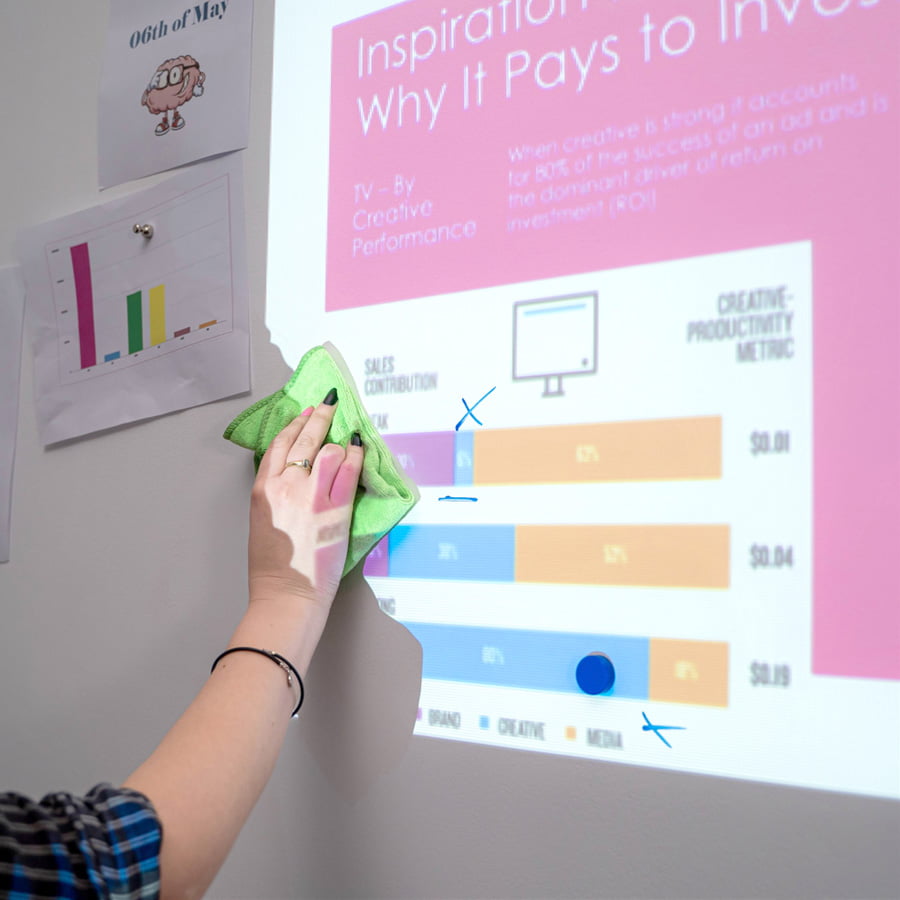
Combine the advantages of a magnetic surface, a writable whiteboard, and a projection screen in one product to transform collaborative spaces.Versatile Projection Compatibility
Compatible with all types of projectors, including standard, interactive, 3D, and 4K projectors, making it suitable for various presentation needs.Quality Certifications & 10-Year Warranty
Our whiteboard wallcovering comes with a 10-year guarantee and is supported by independent certifications that validate its quality, durability, and effectiveness.Modern Workspaces & Easy Installation
Create spaces that inspire by transforming entire walls into magnetic dry erase and projectable surfaces quickly and effortlessly.Reduced Glare & Stain Resistance
The low-sheen finish offers an attractive look, is stain-resistant, and is designed with a non-staining method for a neat appearance.Magnetic Projector Screen Whiteboard Wallpaper - Technical Specifications
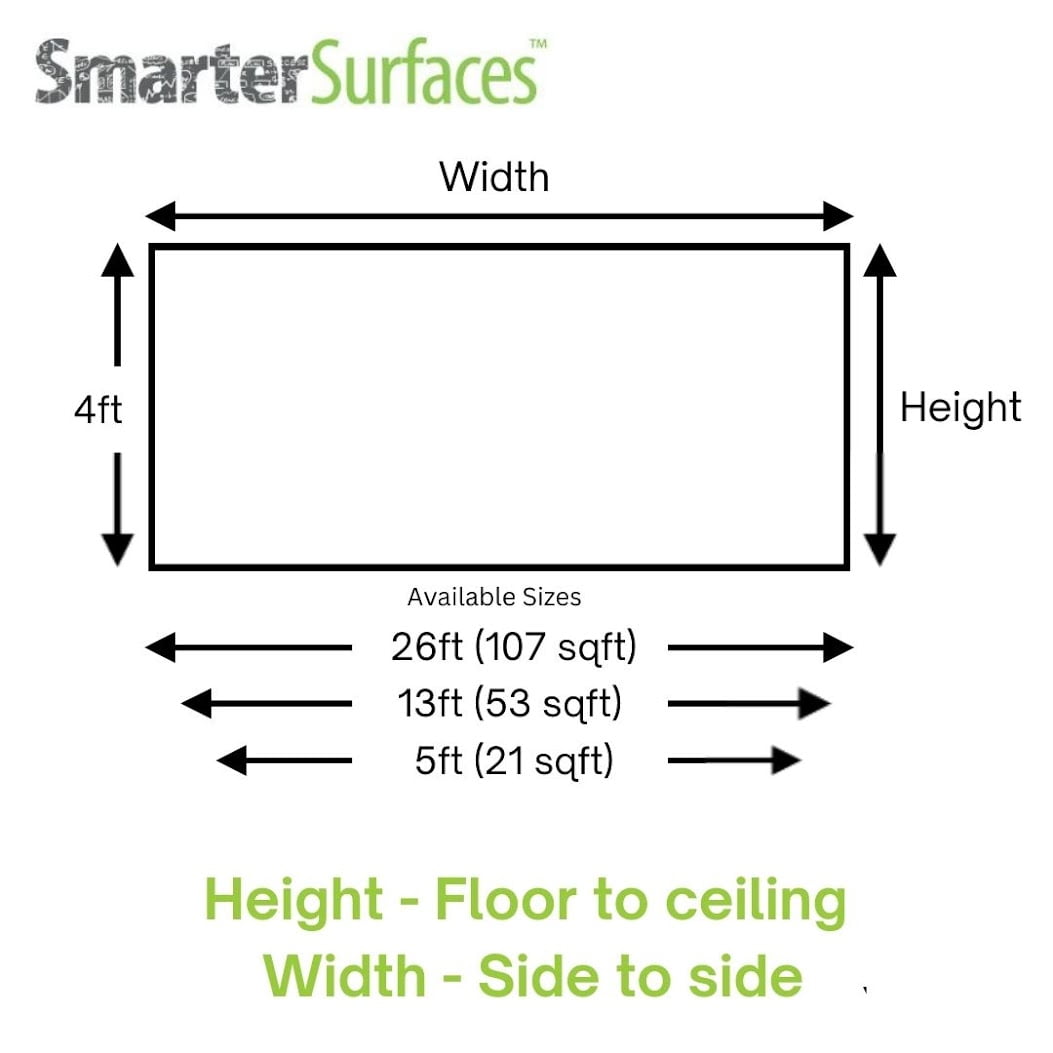
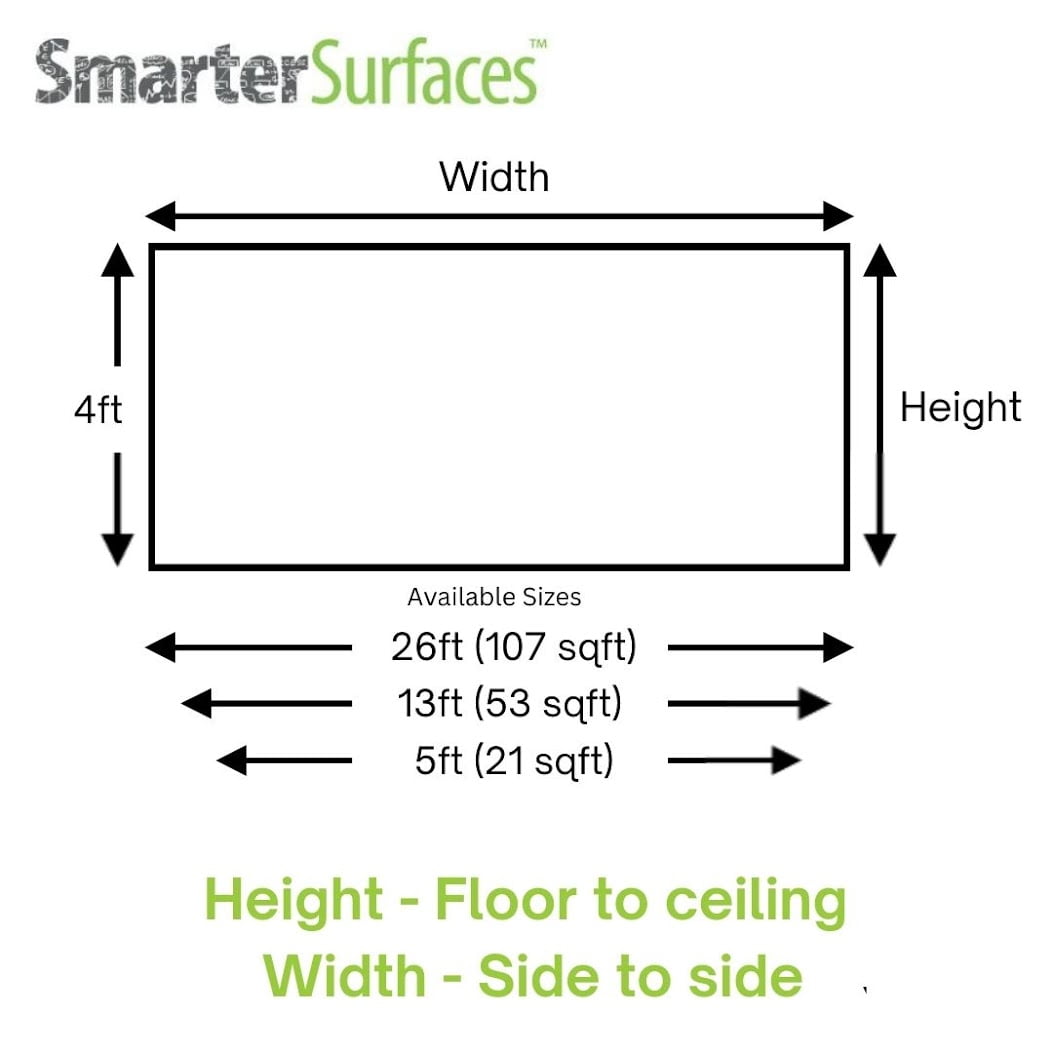
Coverage / Dimensions :
- 9.94 m² / 1.22 m × 8.08 m
- 4.92 m² / 1.22 m × 4.04 m
- 1.95 m² / 1.22 m × 1.57 m
Product Color: White (RAL: 9016)
Product Finish: Low Sheen
Gloss Measurement: 41 GU at 60 degrees
Gain Value: 1.1 at a viewing angle of 120 degrees
Material Thickness: 0.3”
Lighting: Normal ambient lighting
Performance: magnetic dry erase & projection with bright, sharp projection performance
Environmental (exceeds all Canadian standards): VOC free, solvent free, PFOA & PFOS free and isocyanates free
Certification: Independent Projection Performance Report – CREST, Independent Fire certification: Class A
Suitable Surfaces: Walls or any flat surface
Compare the performance and specifications:
Magnetic Product Buying Guide
Produced with more than ten years of reliable whiteboard and projection surface technology.
If you're uncertain about the right product for your needs, we provide support via video calls, live chat, phone, and email. Take advantage of free technical advice and creative suggestions for product recommendations to help you make the best choice. Need assistance with installation? We are here to guide you.
Kit Contents
107 sq ft & 53 sq ft – Kit includes:
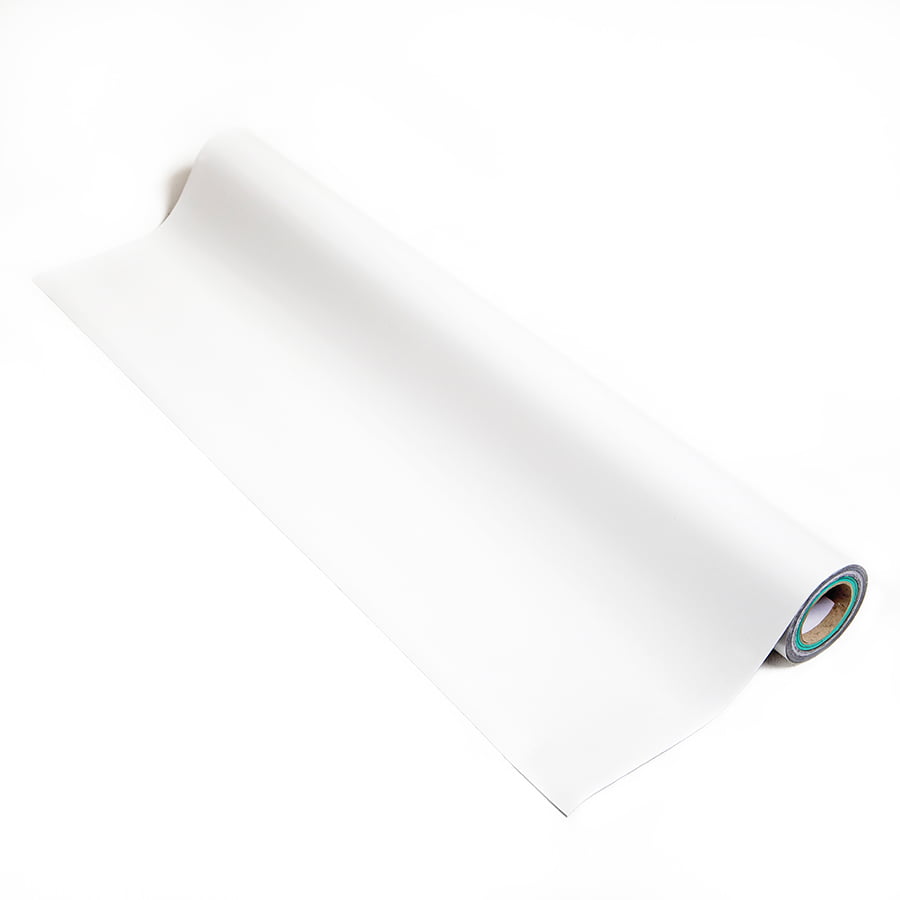
- 1 x Magnetic Dry Erase Projection Wallcovering
- 1 x Surface Sticker
- 1 x Application Guide
- 1 x Wallpaper Spatula
- 1 x Pair of gloves
- 1 x Microfibre Eraser Cloth
- 2 x Smart Neo Magnets (Neodymium Magnets)
21 sq ft – Kit includes:
- 1 x Magnetic Dry Erase Projection Wallcovering
- 2 x Smart Neo Magnets (Neodymium Magnets)
- 2 x Adhesive Tubes
- 1 x Microfibre Eraser Cloth
- 1 x Wallpaper Spatula
Magnetic Projector Screen Whiteboard Wallpaper Reviews
Mary Vaughan - Vancouver School District
Openrice Technology - Joe Y - Director
Canadian School - Ben Jones
Explore More Products From Smarter Surfaces
- (0 Reviews)
Magnetic Whiteboard Wallpaper – White Gloss
From CAD$329.00 Select options This product has multiple variants. The options may be chosen on the product page - (0 Reviews)
Projector Whiteboard Wallpaper – White
From CAD$234.00 Select options This product has multiple variants. The options may be chosen on the product page - (0 Reviews)
Whiteboard Wallpaper – White Dry Erase
From CAD$203.00 Select options This product has multiple variants. The options may be chosen on the product page - (0 Reviews)
Projection Screen Whiteboard Film – White 2 in 1 Surface
From CAD$156.00 Select options This product has multiple variants. The options may be chosen on the product page
FAQ's
The gain value indicates the quantity of reflective lumens that can be delivered by the screen. A higher gain value reflects more light, leading to a brighter image, while a lower gain value reflects less light, resulting in a dimmer picture.
The gain value also affects the viewing angle. Screens with higher gain will present a narrower viewing angle, meaning viewers need to be located directly in front of the screen to experience optimal brightness. In contrast, screens with lower gain will provide a wider viewing angle, allowing viewers to see a brighter image even if they are off to the side of the screen.
It's crucial to recognize that the choice of gain is affected by the particular viewing environment and the desired experience. Aspects like ambient lighting, screen size, projector brightness, and audience seating layout all contribute to identifying the most suitable gain for any scenario.
Step 1 Prepare the surface by filling in any cracks or imperfections and sanding it smooth.
Step 2 Apply two coats of Wallpaper Adhesive onto the wall.
Step 3 Roll out the magnetic projection wallpaper onto the wall, pressing it into the wet adhesive.
Step 4 Using a hard plastic edge 3 in 1 wallpaper spatula, push out any surplus adhesive or air bubbles from the center towards the edges.
Step 5 Trim to the desired size using a razor.
Step 6 Clean the surface with water and a cloth to eliminate any excess adhesive and wait 48 hours before using it.
Check out our application video for magnetic whiteboard wallpaper.
Absorbent surfaces ought to be treated with White Primer before application.
Comprehensive health and safety guidelines are included on the label of every Smarter Surfaces™ product. Be sure to read these before starting the application.
We also recommend reviewing the safety instructions that come with your ready-mixed adhesive.
Whiteboard Wallpaper (whiteboard functionality with a gloss finish)
Magnetic Whiteboard Wallpaper (whiteboard and magnetic gloss finish)
Whiteboard Wallpaper – Low Sheen (Projector and Whiteboard functionalities with a low sheen finish).
Smart Magnetic Whiteboard Wallpaper – Low Sheen (Projector, Magnetic, and Whiteboard Wallpaper functionalities).
Magnetic Projector Screen Whiteboard Wallpaper installation
The Magnetic Projector Screen Whiteboard Wallpaper is simple to install, and it will be ready for use within just 48 hours.
This all in one wallpaper for projectors is incredibly easy to apply and can be installed horizontally, vertically, and even on curved walls. We suggest hanging the wallpaper horizontally to ensure ease of use at eye level.
Step 1: Verify that your surface is smooth before applying.
Step 2: Lay the wallpaper out on the floor for measuring and cutting. Measure the wallpaper to your desired length and use sharp scissors to cut it.
Step 3: Apply two coats of vinyl over vinyl adhesive to the wall.
Step 4: Hang the magnetic whiteboard projection wallpaper as you would with traditional wallpaper. Use a hard, smooth spatula to remove any air bubbles or excess adhesive, and clean the surface with water and a cloth.
A comprehensive and much more detailed application guide is available to assist you in applying our whiteboard wallcovering.
You can also watch our application video for the whiteboard magnetic projection wallpaper to learn the correct application process.
If you would like to assess the product's performance first, you may request a sample pack.
If you have any inquiries or require advice, we take pride in offering excellent customer service and support. Feel free to reach out to us.
![]() A full application guide to help you apply our Magnetic Projector Screen Whiteboard Wallpaper.
A full application guide to help you apply our Magnetic Projector Screen Whiteboard Wallpaper.
Magnetic Projector Screen Whiteboard Wallpaper installation Video
Watch our step-by-step Video Application Guide
Magnetic Projector Screen Whiteboard Wallpaper Videos
Whiteboard and Projector Wallpaper | DIY Tutorial with dual functionality walls!


