


Benefits of Clear Projector Screen Paint
Transparent Coating
Clear Projector Screen Paint is an exceptional transparent coating that improves projection effectiveness on typical surfaces like painted walls, offering an improved visual experience.Maintains Room Design
Transform a previously painted wall into a projector screen while maintaining the existing room design, allowing for a seamless integration of projector screen functionality.Quality Performance
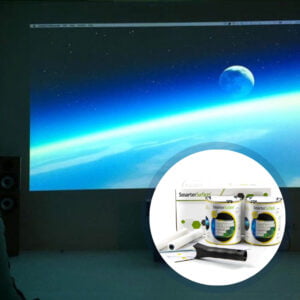
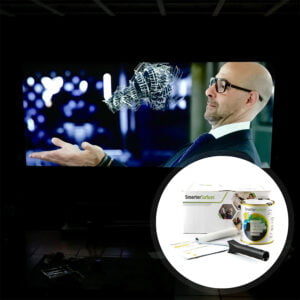
Reduces light interference, enhances colour and light reflectivity uniformity, resulting in improved projection performance and a 120" (320cm diagonal) screen or larger if desired.Suitable for Any Application
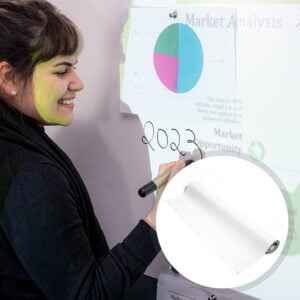
Perfect for home theatres, gaming screens, meeting rooms, and classrooms, ensuring accurate image projection and optimal viewing quality in normal to low ambient lighting conditions.Easy Application Process
The clear paint for walls is easy to apply with its two-coat system. Simply paint the surface in the desired color and apply the clear coat on top to create a unique and usable projector wall.What to Use With Clear Projection Screen Paint?
- Projector Requirements: Interactive, HD, 4K, Standard Projectors with adjustable colour tone (Color mode setting)
- Minimum Recommended Lumen Value: 1,200 Lumens
- Lighting: Brighter rooms with normal to high level ambient light
- Compatible Surfaces: can be applied to fabrics and is suitable for painting or refurbishing old screens, but not suitable for roll-up screens.
Performance
- 4K & 8K Ultra HD Ready
- Gain Value @ 90 °: 1.03
- Viewing Angle: 140 degrees
- Certification: Independent Projection Performance Report – CREST
Comparison Table
Compare the performance and specifications of Smarter Surfaces full projection range
Clear Projection Screen Paint - Technical Specifications
Colour: Transparent
Finish: Matte
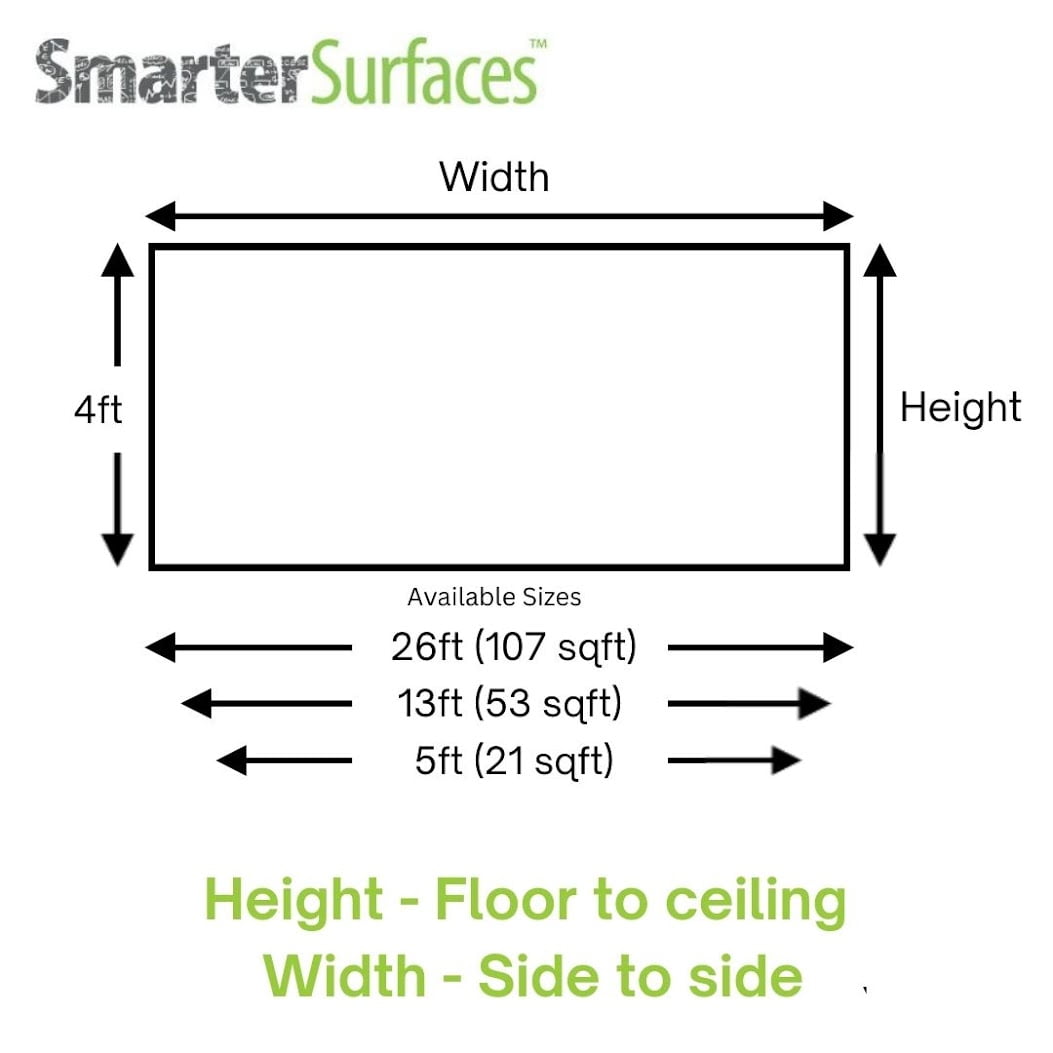
Screen Size / Coverage:
- 48 sq ft : 120” / 110” x 62” at 16:9 Aspect Ratio
- 270 sq ft : 301" / 262.6” x 147.6” at 16:9 Aspect Ratio
Volume:
- 48 sq ft : 26.04 fl oz
- 270 sq ft : 136.94 fl oz
Environmental (exceeds all CA standards): low VOC, solvent free, PFOA & PFOS free and isocyanates free
Odour: Very Low
VOC: Less than 0.79%
Certification: Independent Projection Performance Report – CREST, Gypsum Surface Finish Quality Standard of CA Level 5
Not sure which product is best for you? We provide support through video calls, live chat, phone, and email. Take advantage of our complimentary technical guidance and product suggestions to help you select the ideal option. Need help with installation? We're here to assist and offer advice.
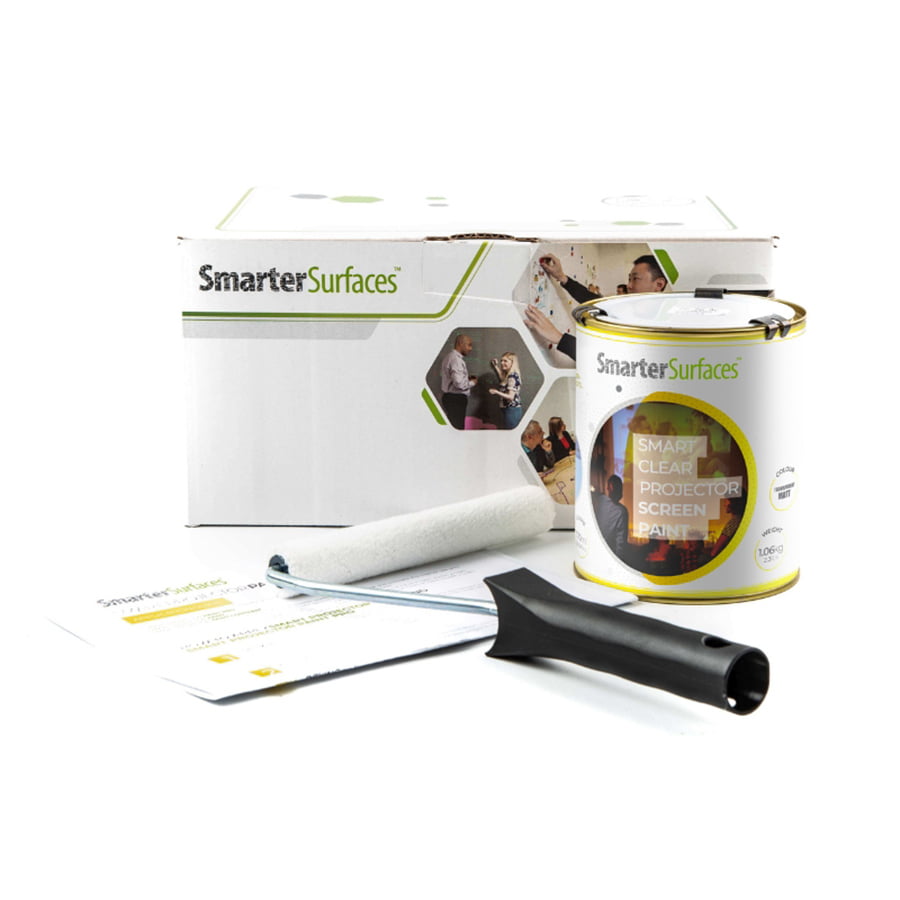
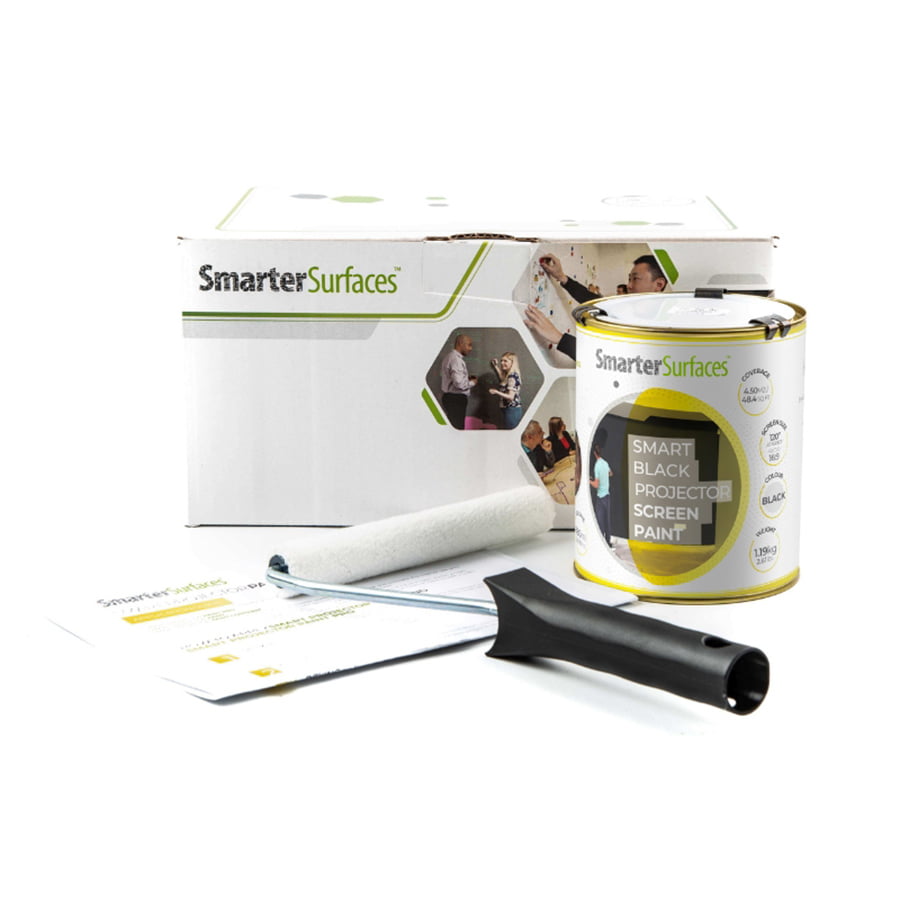
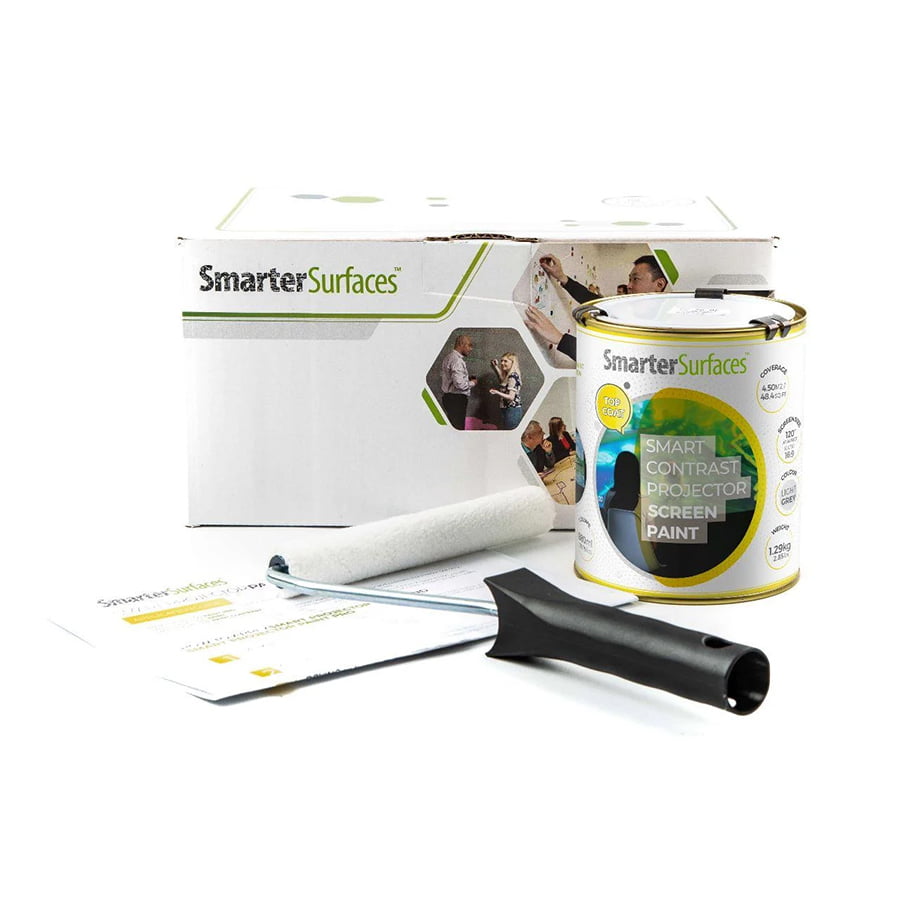
What’s Included in the Kit?
Kit Contents 4.5m2 / 48 ft2
- 1 x Projector Clear Screen Paint
- 1 x Roller Sleeve
- 1 x Application Guide
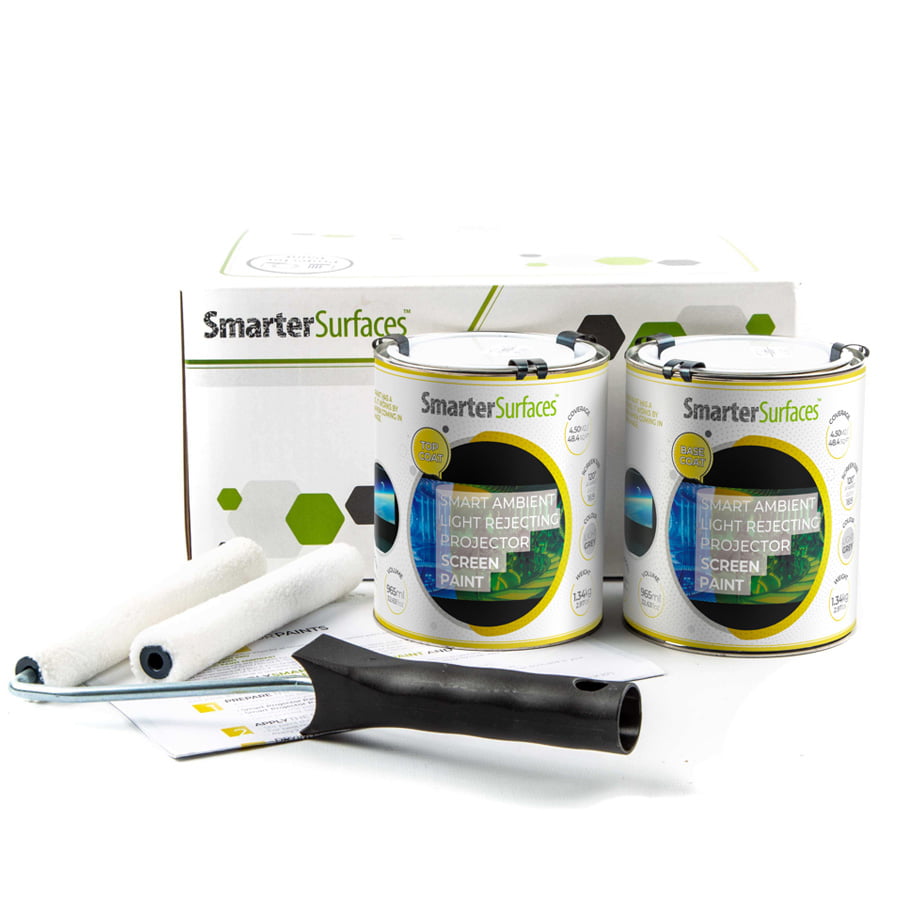
Kit Contents 25m2 / 270 ft2
- 1 x Projector Clear Screen Paint
- 1 x Application Guide
Clear Projector Screen Paint Reviews
Rick A - Rickson Design Interiors LLC
Trevor Martin - Calgary
Thomas Rakton - Ottawa
Explore More Products From Smarter Surfaces

 (0 Reviews)
Ambient Light Rejecting Projector Screen Paint
From CAD$299.00 Select options This product has multiple variants. The options may be chosen on the product page- (0 Reviews)
Black Projector Screen Paint For High Contrast Projection
From CAD$314.00 Select options This product has multiple variants. The options may be chosen on the product page  (0 Reviews)
Magnetic Projector Screen Whiteboard Wallpaper
From CAD$392.00 Select options This product has multiple variants. The options may be chosen on the product page- (0 Reviews)
High Contrast Projector Screen Paint for Enhanced Visuals
From CAD$314.00 Select options This product has multiple variants. The options may be chosen on the product page

FAQ's
Blending projections necessitates exact colour accuracy, consistent brightness, and superior light diffusion to ensure a smooth transition between projected images. Smarter Surfaces clear projection screen paint has been created with these considerations in mind, allowing you to create a unified and immersive display.
For large-scale screens, our projection screen paint negates the need for bulky and pricey physical screens, offering a more adaptable and economical option for blending projections. Transform any environment into an immersive canvas where multiple projections can seamlessly blend, captivating your audience.
The SAC can fluctuate depending on the frequency of the sound waves that interact with the material. Different sound frequencies have varying wavelengths, leading to different interactions with the material. Consequently, the SAC values provided reflect a range, as these will change based on the frequency of the sound waves undergoing absorption. Our testing yielded the following findings:
Unpainted Board α = 0.04-0.07
Painted Board α = 0.04-0.07
The listed values pertain to a 12mm gypsum board that has not been painted and to one that has been painted. The α values of 0.04-0.07 for both the painted and unpainted boards signify the range of SAC values for these materials. This indicates that when sound waves pass through a 12mm gypsum board, some level of sound energy will be absorbed by the material, with the absorption amount falling within the range of 0.04-0.07 based on the frequency of the sound waves. Also, this suggests that all our paints are acoustically transparent, as there is no difference between the standard board and the painted version.
Transparent Paint for Walls complies with the highest environmental standards and has been independently certified for fire safety and VOC emissions. It is advisable to wear the gloves provided in the kit while applying the paint. As with any paint product, we recommend using gloves during application.
Clear Projection Screen Paint Installation Guide
How To Apply Clear Projector Screen Paint?
Step 1: Prepare The Surface - Clean the surface and measure the area you plan to paint and clearly outline it with masking tape.
Step 2: Mix And Apply First Coat - Stir paint thoroughly (do not shake). Apply a thin, even coat of clear paint for walls using a fine mohair roller or soft synthetic brush. Work quickly in sections to maintain a wet edge, as the paint dries within 5 minutes.
Step 3: Apply Second Coat - Wait 2-4 hours for the first coat to dry at room temperature. Apply the second coat using the same technique, feathering edges between layers for a smooth finish.
Step 4: Dry And Cure - Transparent paint for walls will be touch-dry in less than one hour and usable as a projection surface.
If you'd want to test our products' effectiveness, you can request a sample pack.
Have any inquiries or need assistance? We take pride in delivering outstanding customer service and support. Feel free to reach out to us.
![]() A full application guide to help you apply the Clear Projector Screen Paint.
A full application guide to help you apply the Clear Projector Screen Paint.
